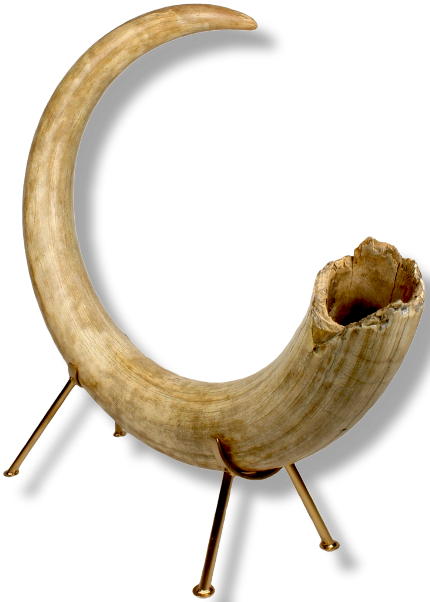
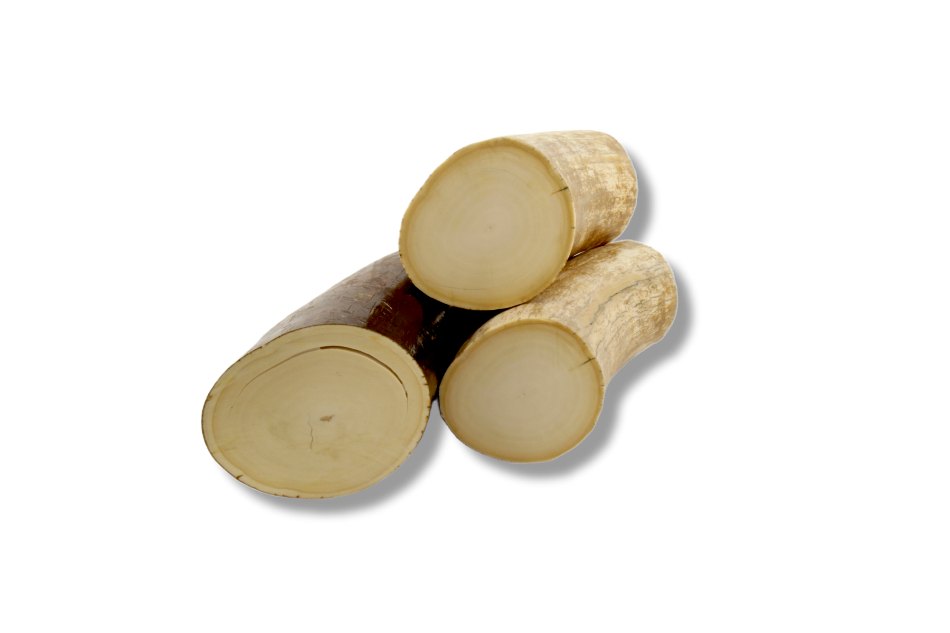
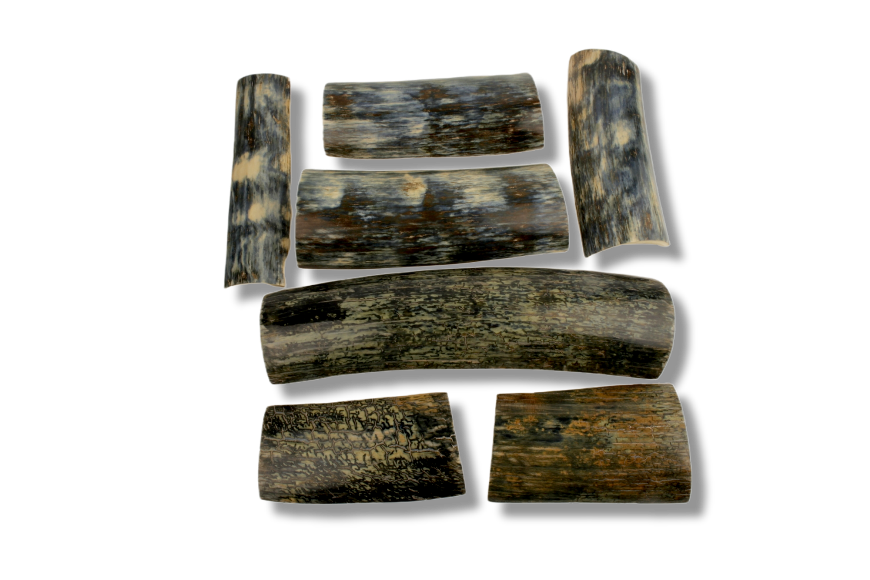
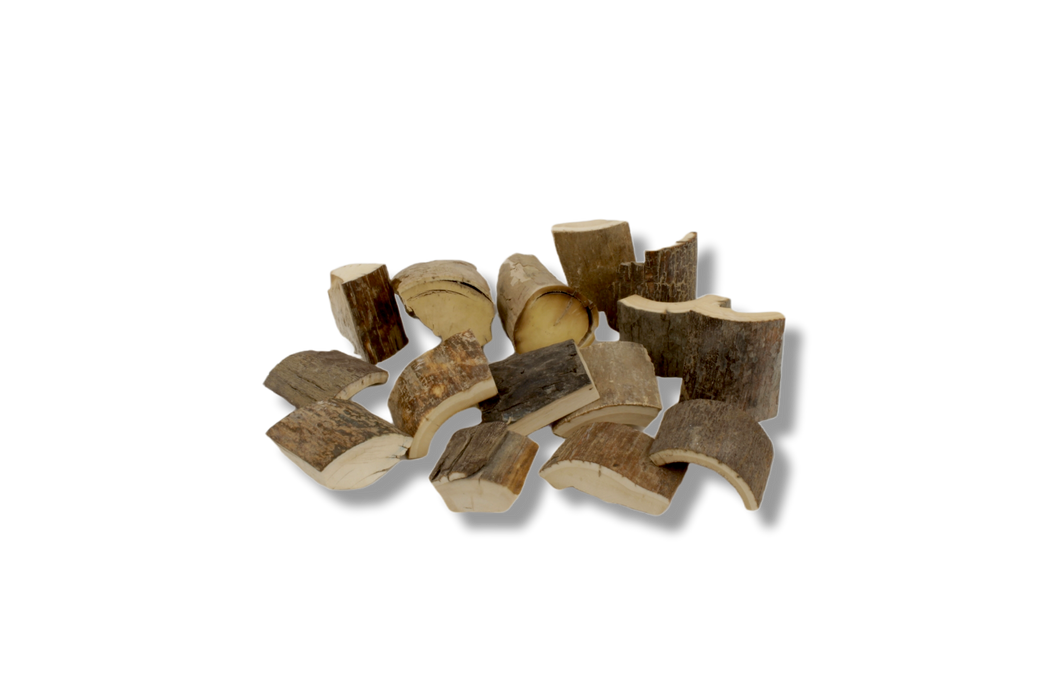
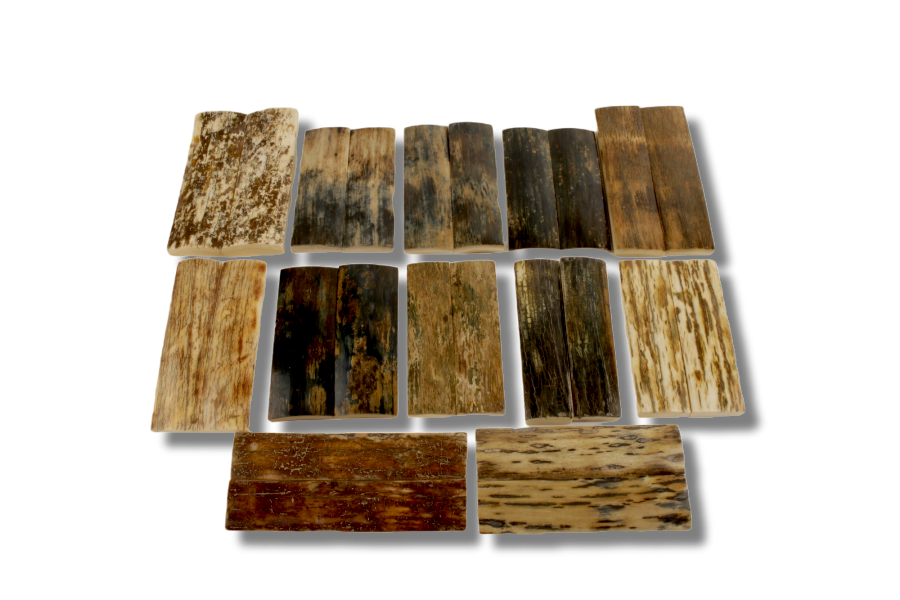
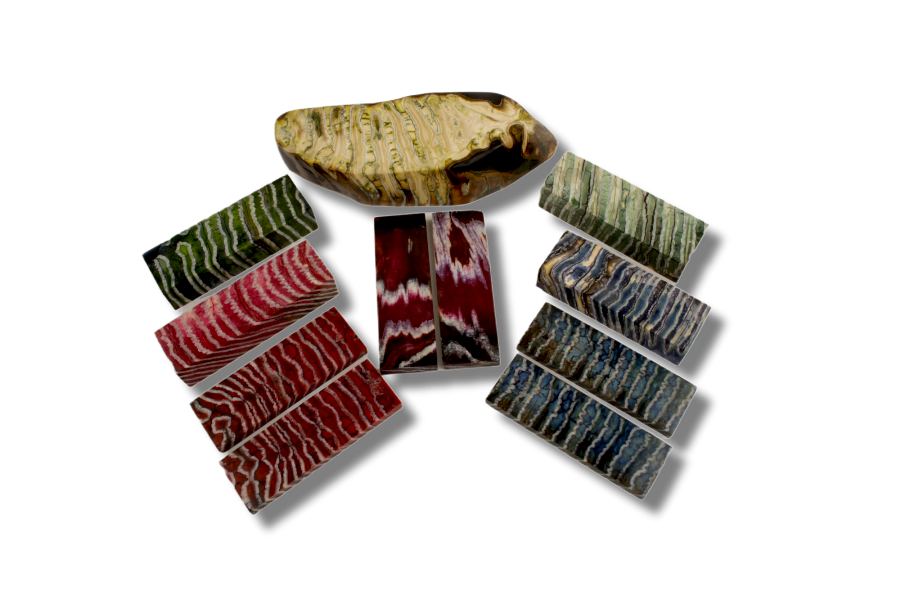
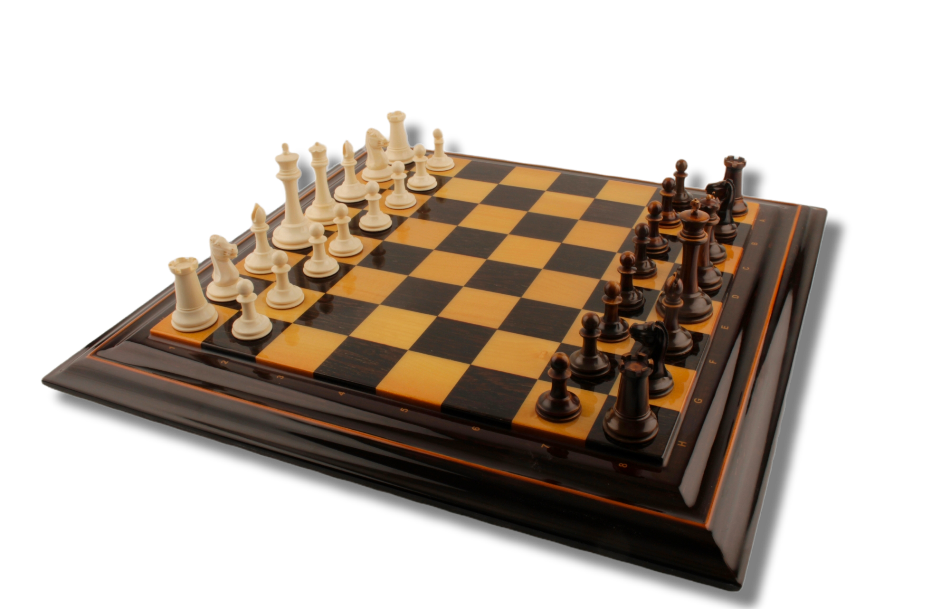
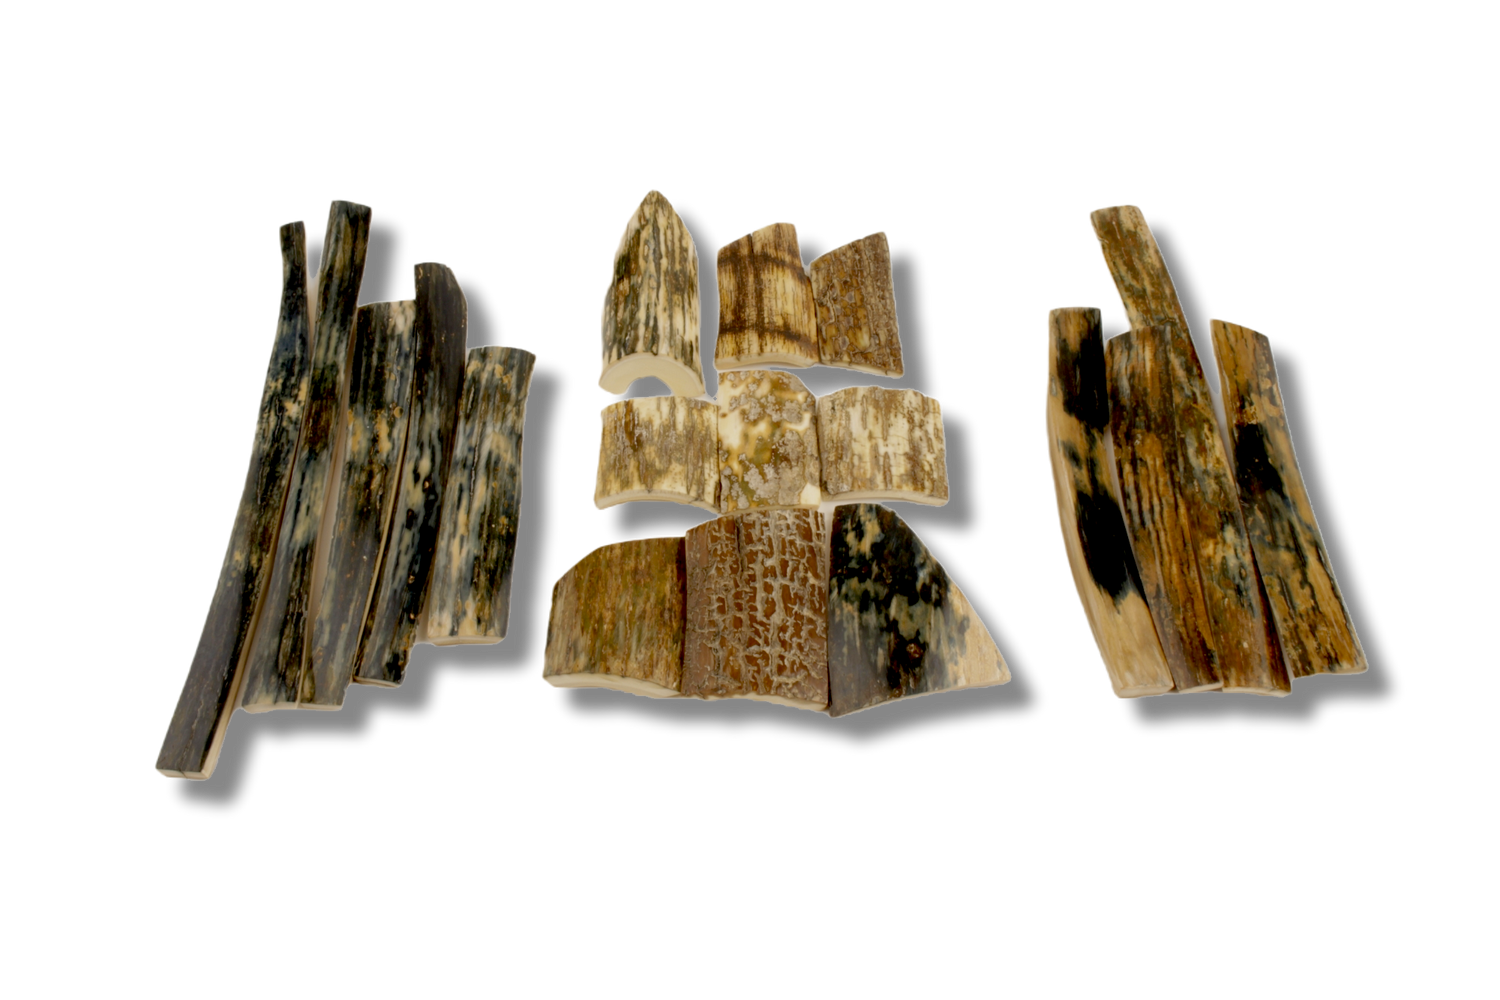
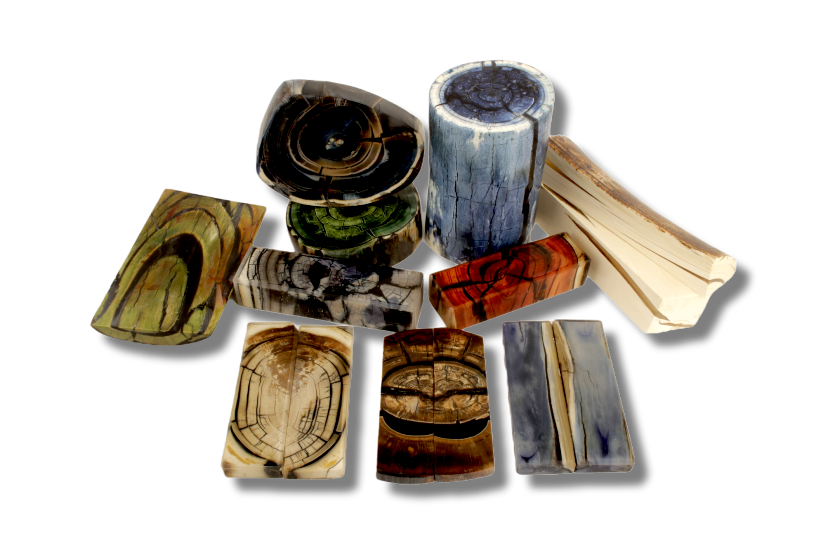
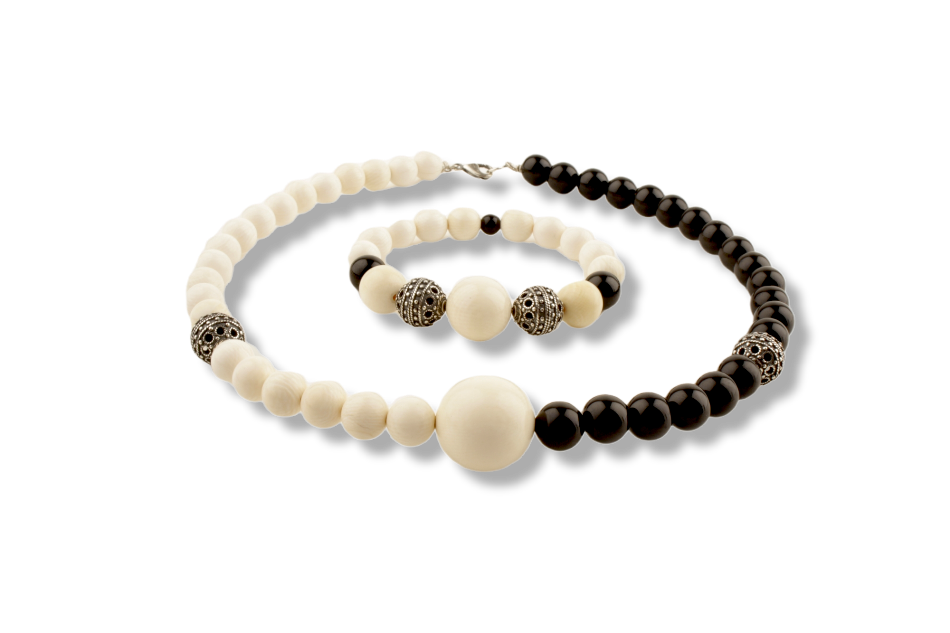
Like mammoth ivory, stabilized mammoth molars (or teeth) can be used in various luxury products such as custom-made knifescales, gungrips, bespoke restoration works, inlays, components for musical instruments, jewellery and so on.
General Considerations
First, this guide applies specifically to stabilized mammoth molars, not mammoth ivory. Natural fossil mammoth molars are much more fragile than natural fossil mammoth ivory (including mammoth bark). Every piece of mammoth molar requires professional stabilization for artisans to process it. Working with natural mammoth ivory is much easier, simpler and less risky than working with stabilized mammoth molars. See our guide how to cut mammoth ivory.
Second, this guide only briefly examines some aspects of work with this material. There are many different tools, skill sets and processing techniques. This article highlights the generally essential points, recognizing the diversity within this craft.
Structure
A stabilised mammoth molar - be it a whole mammoth tooth or part of a tooth, pre-cut block or knife scales - is a difficult material to process. The natural structure of a mammoth molar consists of three different materials: enamel (outer layer), dentine (core), and cementum (binding matter). It is this contrast between very hard enamel and softer surrounding tissue that gives the material its extraordinary striped, mosaic appearance. Due to the heterogeneous structure, there is always a probability of chipping and cracking when working with it.
Why it needs stabilising
After tens of thousands of years in the Siberian permafrost, fossil molar is often porous and fragile — the softer dentine and cementum can be chalky or crumbly. On its own, raw molar would chip and fall apart under tools. Professional stabilising solves this: the piece is impregnated with a specially mixed liquid resin, typically drawn deep into the pores under vacuum and/or pressure, then cured hard. The result is a solid, durable block that holds together while you cut, shape and polish it. Our selection of stabilised mammoth molar is prepared this way so it is ready to work.
It is paramount that the mammoth molar has been stabilized professionally to a very high standard.
Drilling
Because mammoth molar contains enamel — one of the hardest biological materials — it is considerably more abrasive on tooling than ivory.
Drilling a stabilized mammoth tooth is challenging but possible. Along the drill’s path, hard enamel and softer bone tissue alternate. This can lead to either the drill sliding to the side or the inability to drill through the enamel itself. It is recommended to use a carbide-tipped drill and drill at high speeds. Drilling at high speeds minimizes the risk of the drill being jammed inside the piece.
To minimise chipping when drilling, you need to pay attention to the thickness of the pieces to be drilled.
If you need to drill a piece thinner than 10 mm, you need to reinforce the back of the piece before proceeding. A thin backing plate (g10 spacer, for example) carefully superglued (cyanoacrylates) to the back of the piece will do the job. Before gluing the backing plate, ensure that both surfaces are absolutely clean, straight and even. When finished drilling, you can attach the piece directly without removing the spacer.
The process is a bit simpler if you need to drill a piece thicker than 10 mm. Carefully measure and mark all sides, projecting the exact directions of the holes to be drilled. Drill a bit deeper than the middle from each side. The aim is for the holes to align and meet inside the piece because this will avoid chipping.
Sanding and Grinding
It is recommended to use a good-quality belt grinder or a belt sander. To avoid the appearance of “waves” on the finished product, it is recommended to grind stabilised mammoth molar using a rigid substrate under the sandpaper.
In the first step, you can start with a 40-grit sandpaper. This is a rough removal, needed only to remove the main mass. When you gradually approach the final shape, you can switch to a 60-grit or 80-grit sandpaper. The finer the abrasive grain, the less likely it is to tear a piece from the stabilized mammoth molar. The belt speed can be reduced at this stage as the abrasive decreases. Monitor the heat of the material and keep an eye out for the wear of the belt.
With each processing step, small cracks or fissures might appear. The best fix for this is using a quality superglue (cyanoacrylates). Carefully fill all cracks, cavities and fissures. Add super glue until it is even with the surface. Patience and careful tinkering are required at this stage. You can use a file, preferably with small notches, to even out the surface.
Dust safety
Grinding stabilised mammoth molar produces fine dust from both the fossil material and the cured resin. This dust is respirable and must not be inhaled.
- Wear a well-fitted particulate respirator (FFP2 / N95 minimum; FFP3 / P100 preferred for fine sanding).
- Use dust extraction at the tool and ensure good ventilation.
- Wear eye protection. Working wet, where your setup allows, is the most effective way to control dust.
Bibliography
- Locke, M. (2008). "Structure of ivory." Journal of Morphology, 269(4), 423–450. [Dental tissues: enamel, dentine, cementum]
- Espinoza, E. O., & Mann, M.-J. (1991). Identification Guide for Ivory and Ivory Substitutes. WWF & U.S. Fish & Wildlife Service. [Structure of proboscidean dental material; cementum layering]
- Canadian Conservation Institute. Care of Ivory, Bone, Horn and Antler (CCI Notes 6/1); Conservation of Wet Faunal Remains (CCI Notes 4/3). [Porosity and consolidation of fragile fossil dental/bone material]
- U.S. NIOSH respirator classifications (N95/P100); European Standard EN 149 (FFP2/FFP3). [Respiratory protection for fine dust]
- Health and Safety Executive (HSE, UK). COSHH guidance on respirable dust and local exhaust ventilation. [Dust control]
Note: stabilisation by vacuum/pressure resin impregnation is standard practice in the knifemaking and materials-stabilising trades; tooling guidance reflects established craft practice for working enamel-bearing fossil material.