How to Cut Mammoth Ivory: A Guide for Craftspeople
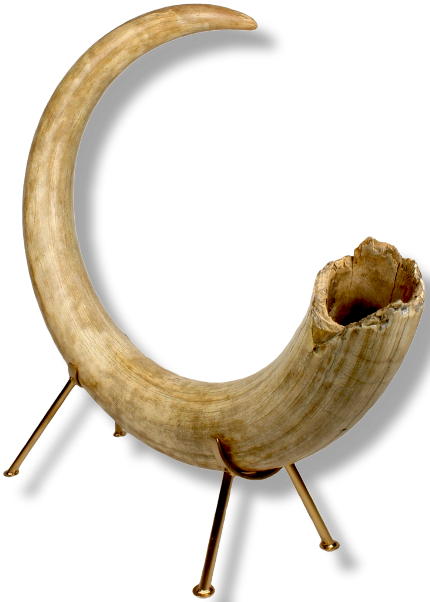
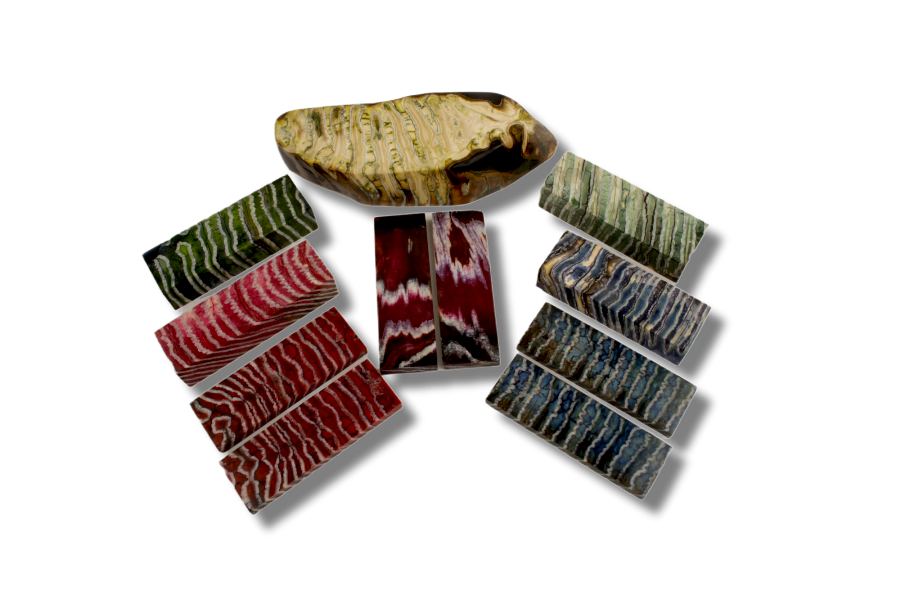
Please note that this guide covers the process of cutting fossil mammoth ivory (Mammuthus primigenius). It does not apply to stabilised mammoth molar, which is harder, contains enamel, and needs different tooling — see our separate guide to processing stabilised mammoth molar. It is written for the knifemakers, gunmakers, scrimshanders, pen-turners and engravers who ask us how to work the material well.
Mammoth ivory rewards patience. It is a natural fossil, not a synthetic, so it behaves differently from micarta or acrylic — but with the right approach it cuts, shapes and polishes superbly.
Thorough Inspection: Read the piece
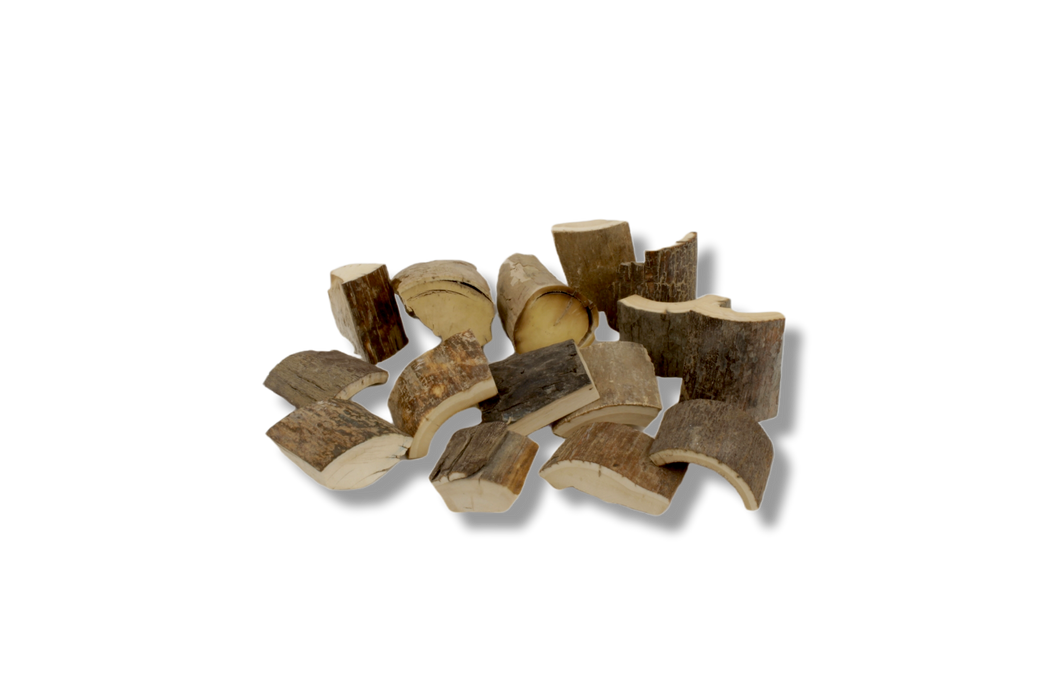
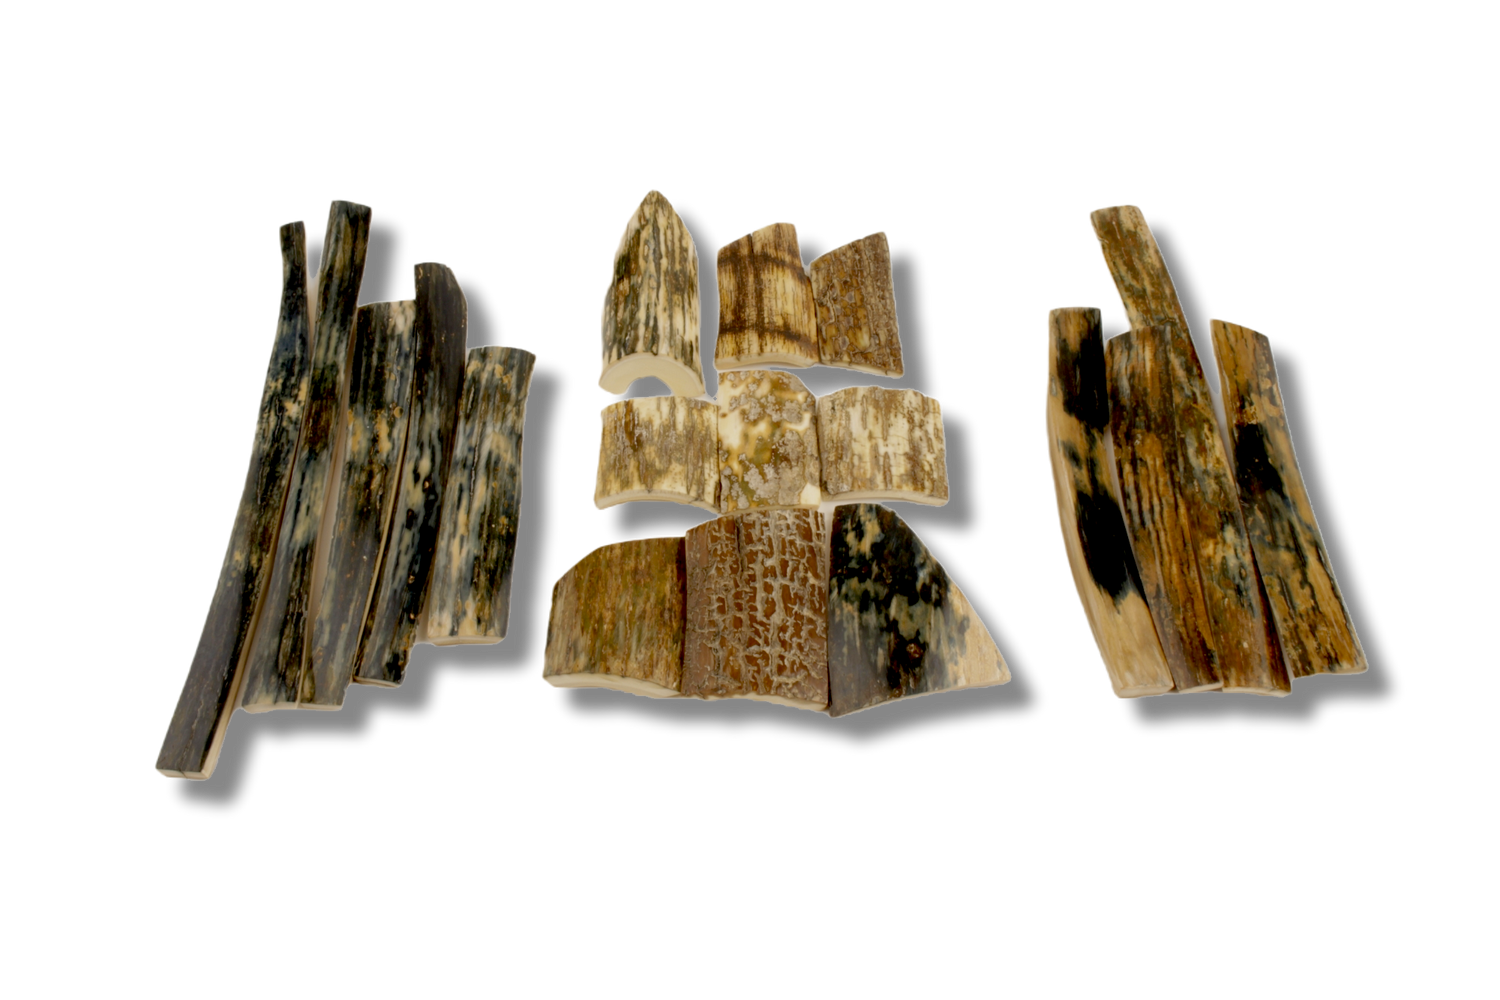
Every piece is unique, so study it first. Before you begin cutting, take your time to carefully examine the particular piece‘s grain and structure. If there are any cracks or fissures, note where they are located and which direction they go. Further, pay attention to any curves that might be present.
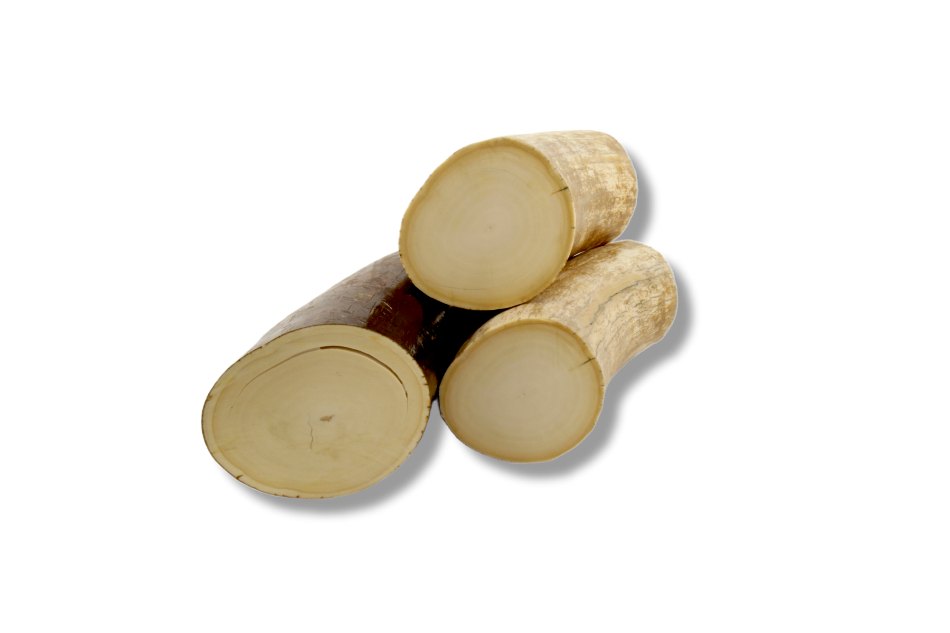
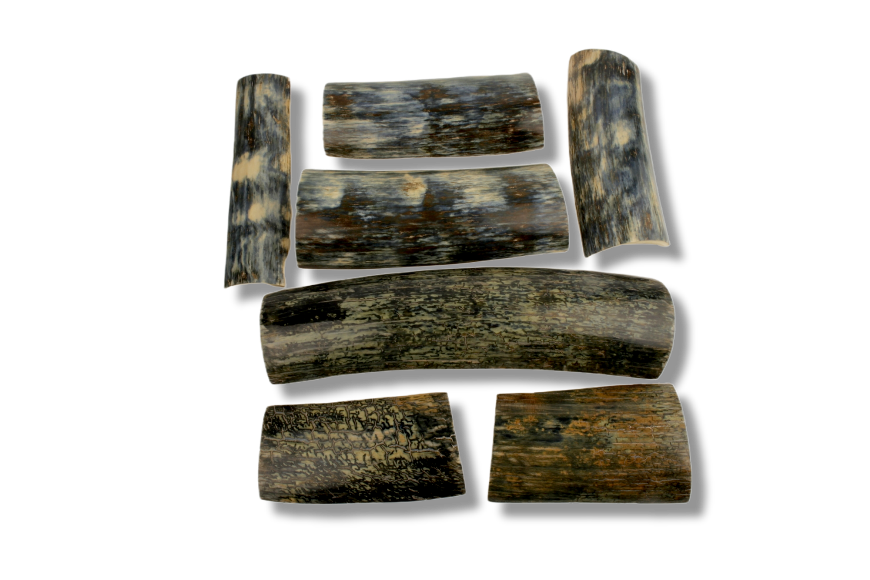
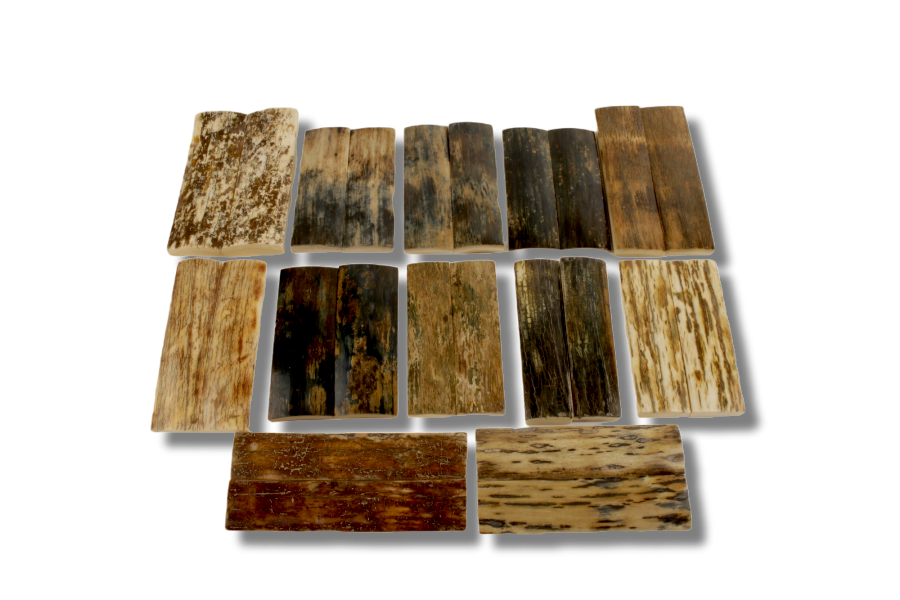
Look for natural cracks, checks and the boundary between the denser core ivory and the more colourful bark. Plan your cuts to work with the grain and to keep any natural fissures where they will do least harm — or where they add character, as many makers prefer. Because fine material is precious, it is worth mapping your layout before the first cut.
While mammoth ivory commands respect, do not be afraid to work with this material. Keep in mind that our mammoth ivory is extremely solid and stable, resembling more of a soft metal than wood. Proper inspection of the particular piece to be cut helps in preventing any unexpected mistakes.
Choosing the right saw: Manage the heat
A crucial point to note: Do not add water or cooling liquids during the cutting process. Mammoth ivory is a natural material. The heat generated from friction during cutting causes the pores of mammoth ivory to open slightly. If you add water / cooling solvent, a tiny portion of the liquid will be absorbed and stain the material.
Listing all of the available saws goes beyond the scope of this guide. Following are the commonly employed types to consider:
1. Hand saws
You can generally use any hand saw which is suitable for fine woodworking, jewellery making or bespoke metalworking. Hand saws with fine teeth are important for artisanal precision, facilitating control during intricate, small-scale cuts and work that demands a tactile connection with the material. Use sharp saws only, because dull saws generate excessive heat.
2. Band Saws
These are generally the go-to for mammoth ivory cutting, especially when handling larger pieces. They allow for clean, straight cuts, and their steady nature means less risk of chipping or breaking.
Use marking tools to draw the desired cut lines on the ivory. Ensure your lines are clear and precise, as they will guide your cutting.
When using power saws, maintain a steady feed rate. Pushing the ivory too fast can lead to chipping or breaking, while too slow can burn or discolour the ivory.
A lot will depend on the choice of your saw blade (read below).
3. Scroll Saws
For more intricate patterns or when precision is paramount, a fine-toothed scroll saw is your best path. It enables the craftsman to achieve detailed shapes and curves.
Once the ivory is cut to the desired shape, the edges might need refinement. Fine-grit sandpaper or specialised ivory files can be used to smooth any rough edges, ensuring a clean finish.
Choosing the right saw blade
While the type of saw plays a significant role in mammoth ivory cutting, the selection of the correct saw blade is equally, if not more, vital. When it comes to blades, the number of teeth per inch (TPI) determines how smoothly or aggressively a cut is made.
1. Low TPI (2-6): Saw blades with a low TPI are too aggressive for cutting mammoth ivory. Using such rough saw blades can lead to chipping, cracking or even breakage. Avoid saw blades with a low TPI.
2. Medium TPI (10-20): Saw blades with a medium TPI strike a good balance. For most common cutting tasks, a medium TPI blade provides a good blend of efficiency and smooth finish.
3. High TPI (20+): High TPI saws are ideal for intricate, detailed work. They cut slower but leave a very smooth finish. When precision is the main concern, or when working with delicate sections of the ivory, high TPI saws are a favourable choice.
Please only use quality saws and sharp saw blades to ensure a successful cutting process – avoid purchasing cheaply manufactured, low-quality tools.
Dust safety: do not skip this
Cutting and sanding ivory produces very fine dust, and fine particulate is respirable and should not be inhaled. Protect yourself properly:
- Wear a well-fitted particulate respirator — at minimum an FFP2 / N95, and ideally FFP3 / P100 for fine sanding.
- Use source dust extraction at the tool and good workshop ventilation; fine dust stays airborne long after you stop.
- Wear eye protection, and keep your workspace clean.
For any further questions, please email us: info@arcticantiques.com
Bibliography
- Locke, M. (2008). "Structure of ivory." Journal of Morphology, 269(4), 423–450. [Ivory structure and why it responds to heat and moisture as it does]
- Canadian Conservation Institute. Conservation of Wet Faunal Remains: Bone, Antler and Ivory (CCI Notes 4/3). [Ivory's tendency to split; sensitivity to drying — relevant to heat-induced cracking]
- U.S. National Institute for Occupational Safety and Health (NIOSH). Respirator classifications (N95/P100). [Respiratory protection standards]
- European Standard EN 149 (FFP1/FFP2/FFP3 filtering facepieces). [Respirator classes for fine dust]
- Health and Safety Executive (HSE, UK). Control of Substances Hazardous to Health (COSHH) — guidance on respirable dust and local exhaust ventilation. [Dust control principles]
Note: cutting techniques reflect established craft practice among ivory and bone workers; the safety and material-behaviour points above are grounded in the occupational-health and conservation sources cited.